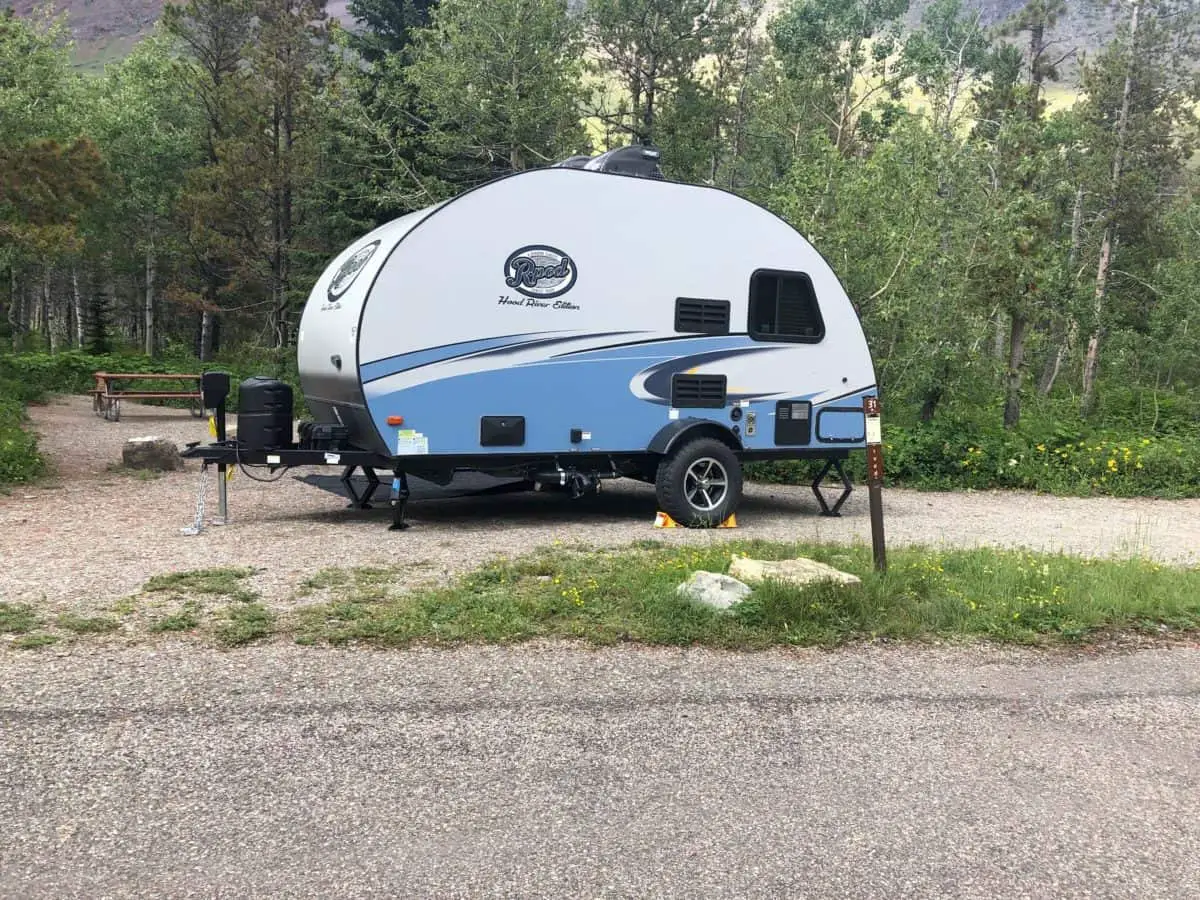
How to Winterize a Travel Trailer: The Complete Guide
If you happen to be the proud owner of an RV, then you must know how important it is to prepare it for winter. Winter can be unforgiving on your RV, especially since they are too large to be stored indoors reasonably.
Before you embark on winterizing your RV, your first order of business should be collecting everything you’ll need for the process. Items needed to winterize a travel trailer will include non-toxic RV antifreeze, a water heater bypass kit, silicone sealant, and other necessary items and tools. Below is a systematic, step by step guide on how to properly winterize your RV in time for the prolonged cold season.
Water System
One of the most important parts to winterizing your RV is making sure the water system does not freeze. The whole point of winterizing your RV’s water system is to ensure that no water residue is left to freeze. The process might be a long and cumbersome one, but it’s a necessary one that shouldn’t be ignored. Once you do it once and learn the tricks for your trailer, you will get the hang of it and next year will go by quickly. Follow the steps below if you’d like to start winterizing your RV’s water system but don’t know how to go about it.
- Remove any inline water filters as well as the bypass before completely draining the fresh water holding tank. Do the same for both the gray and black holding tanks.
- Assuming the hot water is off, drain your tank. If not, wait for the hot water in the water heater to cool off before draining.
- Open all hot and cold faucets before draining them using the water pump. Remember to close them all once all the water has been eradicated.
- Bypass your hot water tank by using the onboard bypass kit. If you do not have one installed, you can find one here. If you do not want to bypass your tank, it will require an additional 6 gallons of nontoxic antifreeze.
- Check to see if you have a water pump winterization kit installed from the factory. If not, you can purchase one here. This kit will pull water from a tube instead of your fresh water tank so you can pump antifreeze in. However, if you haven’t installed it in your RV, you can still achieve the bypass by disconnecting the inlet side of the RV’s water pump.
- Dip one end of the transparent pipe which is from your water pump in a gallon of non-toxic antifreeze.
- Start the pump. Doing so will result in pressure building gradually within the entire system.
- Open the faucet furtherest away from your water pump which will slowly fill the pipes with the non-toxic antifreeze.
- Close the faucet when you see the antifreeze come out. Complete this for both hot and cold water.
- Repeat the same process until all the faucets are filled with the non-toxic antifreeze.
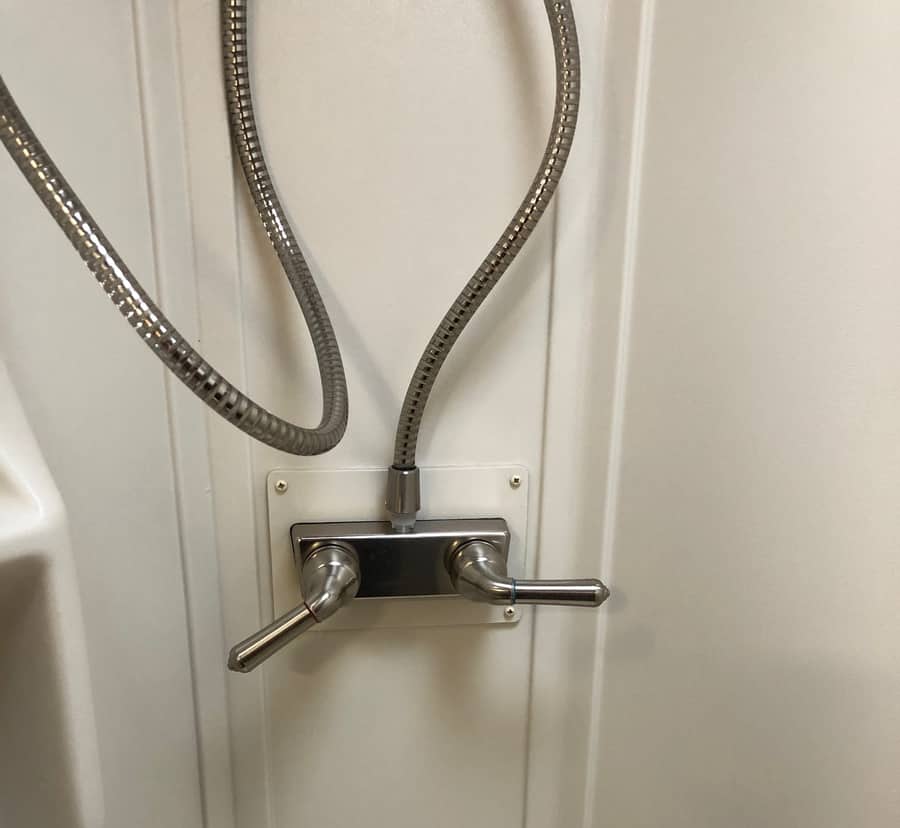
- Do the same with the toilet, shower, as well as the outside shower (If your RV has one).
- Switch the water pump off as soon as the water system is filled with the non-toxic antifreeze.
- Release the pressure from the water system by opening the faucet.
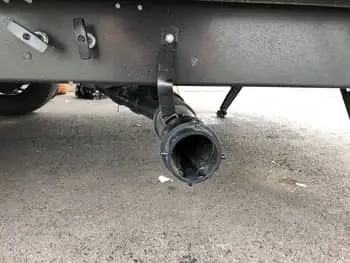
- To winterize the city water system, make sure to complete the step above, if not, you will damage a part.
- Take the small screen off the city water connection, then using a screwdriver (or anything long and pointy), push against the valves until the antifreeze comes out of it. You may need someone to turn the pump on to flow the antifreeze.
- Replace the small screen, and your water system will be winterized.
- If you have a black tank flush, you can use an air compressor with this attachment to blow the water out of the valve.
If you aren’t familiar with the winterizing procedure, then asking your mechanic for help would be the right thing to do. The last thing you want is to mess up your RV’s water system because you skipped on a few essential steps. You can also check the RV’s manufacturers manual for instructions on how to properly winterize your RV’s water system. Once your water system has been properly winterized, it’s time to winter-proof other parts of your RV.
If you get antifreeze in your hot water tank, here is an article detailing what you need to do.
Grey and Black Tank
To winterize your grey and black tank, start by dumping them and make sure they are rinsed out. Pour some antifreeze down each drain to evacuate the water in the P traps making sure some goes down into the grey tank, as well as put a half gallon or so down the toilet and your tanks should be winterized.
Slides, Doors, Windows

Your travel trailer won’t be fully winterized without some additional maintenance. Failure to treat your slides, which include your slide seals, doors and window seals, then they might stay shut completely or leak. Use a good quality conditioner on the seals such as our favorite here to spray and wipe on all of your seals on your RV. You will want to use a lubricant on hinges, and any moving parts such as your awning or slide hardware such as the one we recommend here. Apply some grease on the locks to avoid rust shutting them permanently.
UV light can also discolor your interior so you might want to find something to cover all of your windows.
While lubricating your RV, don’t forget to check the rubber gaskets as well. Make sure they aren’t torn or worn out. In case they are, then it would be in your best interest to replace them before winter because, without suitable rubber gaskets, nothing will prevent running water from entering the RV doors and running the interior.
Clean any debris and grime from the windows so your RV will be clean come spring time. Finally, double check your work to make sure everything is well done. If you’re satisfied with what you’ve done, your next order of business will be winter-proofing the RV roof.
Roof
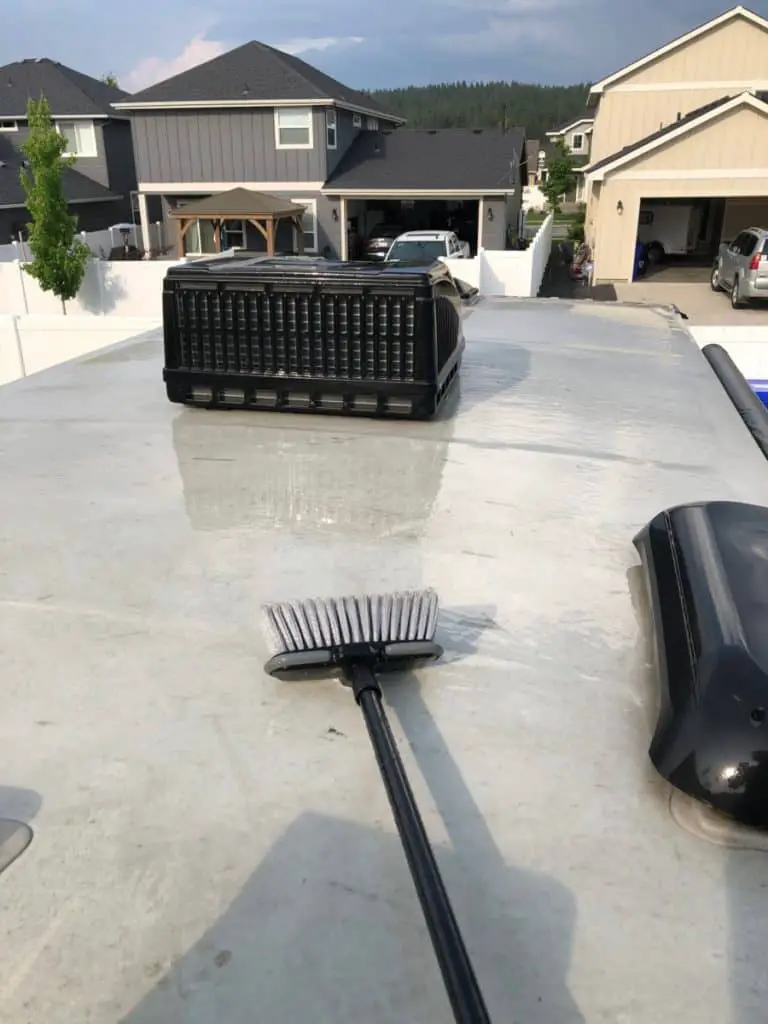
Taking care of the RV roof is an essential process to keeping your RV in top shape, therefore, you should go about it with as much attention. Since the RV roof covers a larger surface area than the roof of an average car, you’ll have to take your time to do a great job. You’ll start by washing the roof with a soft brush to remove any debris and dead leaves that may encourage water damage. Using a hose and some car wash or dish soap will do the trick.
Once the roof is clean and dry, you’ll inspect for any scratches and chipped areas, using a roof sealant to seal them off one by one. Check all of the old sealant on any roof penetrations such as vent fans, solar panels, or air conditioners and reseal if there are any gaps or thoughts of water penetration. If your RV has an EPDM rubber roof, then check out for bumps and other forms of irregularities.
If the damage isn’t too extensive, then you might want to reseal and leave it at that. However, if the damage is extensive, then you might want to replace the entire roof. For resealing your RV’s EPDM rubber roof, you’ll typically use a Dicor sealant. When applying the Dicor, it will self level to create a waterproof seal. Avoid using petroleum-based products to clean your EPDM rubber roof since it can cause irreparable damage.
If you choose to use the EPDM sealant, then you’ll start by mixing it in activator before you start coating. Remember to take your time while applying the coat to avoid missing any damaged spots. If your roof has a slit for example from a branch dragging across it, then you might want to use EternaBond seam tape for all your sealing needs. For safety reasons, always make sure you have the right tools and attire on before embarking on winterizing your RV roof.
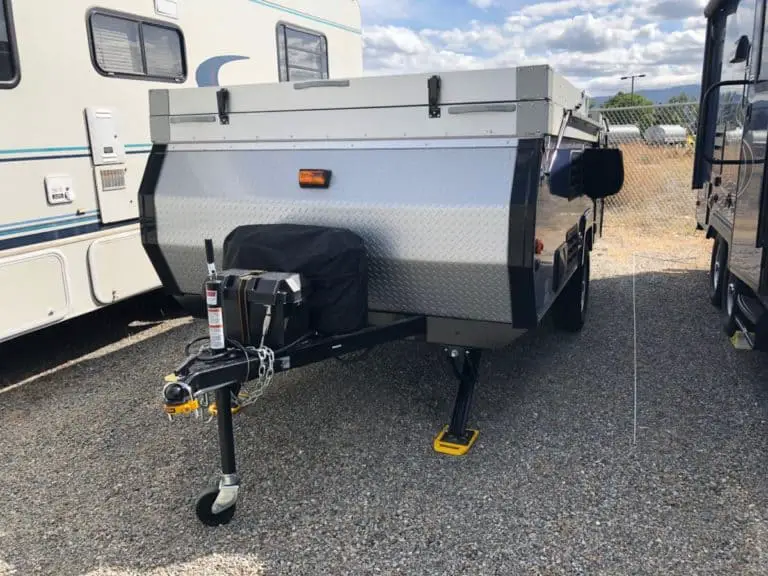
Tires
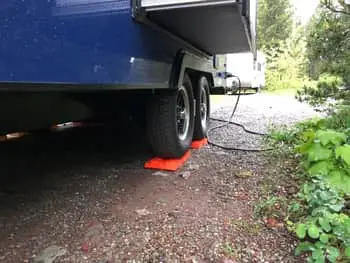
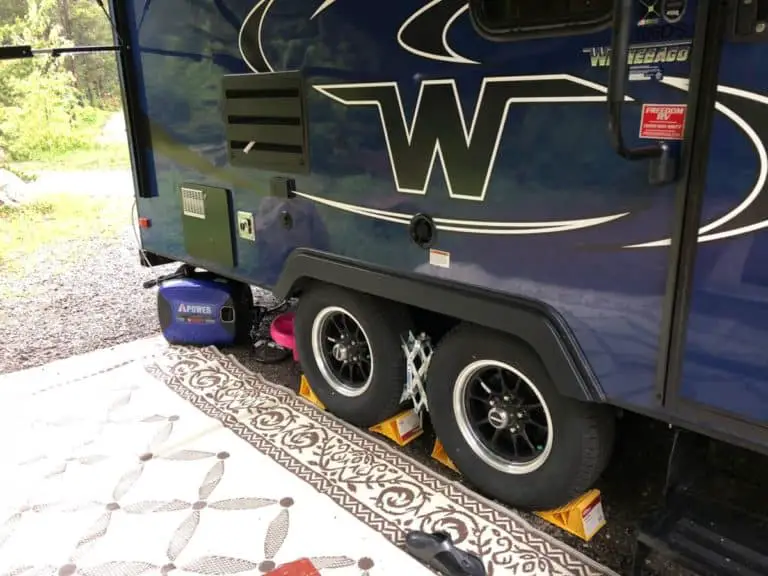
To winterize travel trailer tires correctly, you need to condition the tires properly to protect them from damage because of the elements. You’ll start by filling the tires to the recommended air pressure. To prevent the tires from deflating completely, you’ll be required to always check them from time to time and filling them up. Failure to do so will only lead to extensive damage to the tires because of the weight of the RV. It would also be a good idea for you to purchase tire covers to keep off UV rays as well as snow.
The right tire covers will protect your RV tires from the extensive damaging UV rays have been known to cause. Once your tires are covered, look for pieces of treated wood and stick them under the tires between the tires and the ground. This way, your tires will be protected from damage as a result of prolonged contact between the tires and frozen ground. The treated wood should have a much larger surface area than the RV tire for it to rest comfortably on it.
Note that leaving your RV tires hanging on a narrow piece of treated wood might lead to eventual damage. The latter is so because your RV’s heavyweight has to be evenly distributed on the full tires or else the pressure will overwhelm the tires. After you’ve conditioned your RV tires for winter with a good conditioner, move on to the next step.
Stabilizing Jacks
You can’t call your RV a fully winterized camper without paying attention to the stabilizing jacks. You’ll start by doing some preliminary checks to ensure that the RV’s stabilizing jacks are in perfect condition. If not, find what the problem is and fix it. If the stabilizing jacks are broken or extensively damaged, you might want to have them replaced before storing your RV for winter. Use grease or a silicone spray to protect the jacks from water damage. If you live near a saltwater body, then spray the stabilizing jacks with silicone spray at least once a week. Doing so will offer maximum protection from rust, which is more prevalent in areas with a high amount of salt in humidity.
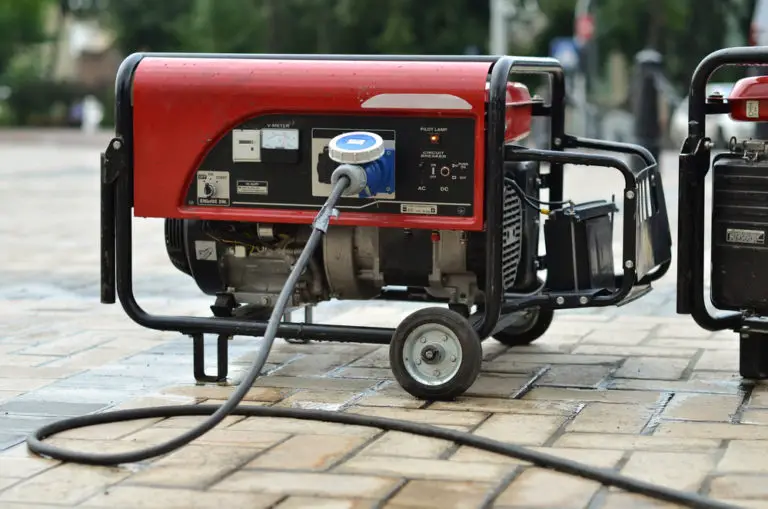
Generator
If your winterized travel trailer has a generator, then you’ll have to take care of it as well. You’ll begin by changing the generator oil and adding fuel stabilizer to keep the gas in a good condition. Finally, run the generator long enough until the stabilizer has run its course throughout the entire fuel system. In the spring you may want to change the spark plug and you will be good to go.
Batteries
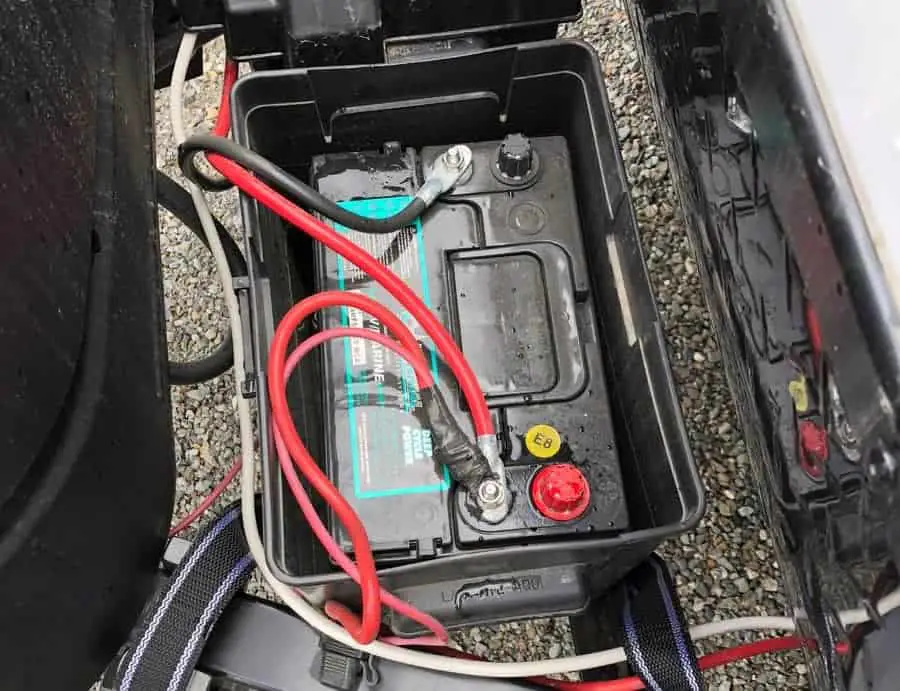
The batteries provide you power to all of your vital systems while you are off grid, so you will always want to care for them properly. If you live in a cold climate, remove the batteries from the RV and away from the extreme cold. It would help if you did this because batteries tend to freeze pretty quickly, especially during winter and should, therefore, be stored inside the house. Before storing your RV battery, check your fluid levels and add distilled water if they are low. After that, charge it until it’s full and keep them on a battery maintainer for the duration of the winter.
Store your battery on a block of wood to protect it from direct contact with the cold surface or concrete, which will lead to loss of power. Don’t forget to charge the batteries regularly since doing so is the only way to keep the freezing at bay. Lastly, keep the batteries out of the reach of children for reasons we all know.
If you live in a warm climate, you can take these precautions as well, but you could also leave your travel trailer plugged into shore power to keep them topped off.
Electrical System
If your RV is not going to be in use for the long term, then it’s only logical that you should keep the electrical system completely switched off. Unplug all of the cables from the walls of the RV for safety purposes. This would also be a good idea to do some maintenance which should include the replacement of all faulty electrical equipment and tucking away all the exposed electrical wires. Check your smoke and propane detector batteries to make sure they are working and you are done.
Propane

The propane tank facilitates all of your heating needs the RV and should, therefore, be prepared for winter as well. Since you won’t be living in the RV throughout the winter, the propane has to be stored properly to avoid wastage. Start by checking the condition of the propane tank. Look out for any dents, scrapes, weakened valve connections, and rust. Make sure you are replacing any tank with extensive damage. Turn your propane tank off and bring it into the garage.
Interior
Cleaning the interior of your winterized camper is just as important as cleaning the exterior. Therefore, taking as much time as you need comes highly recommended. Make sure that all the dust, spills and cobwebs (if any) are swept off from your RV. Remove the curtains wash them. Once they are dry, you can keep them in the house until the next time you’d like to take the RV out for a ride. Make sure the RV windows are wiped clean in the inside just like you did from the outside.
Remove all dry-cell batteries from any devices such as the clock or radio. The kitchen cabinet should also be cleaned and aired out. The latter is very important since not doing so will leave tiny drops of food which are likely to attract rodents or insects, or both. The kitchen sink, the bathroom, the toilet, as well as the bedroom, should be cleaned, dusted, and mopped as well. It always a better idea to get back to a clean RV just in time for spring than having to clean it all over again.
If you have any appliances such as a fridge, microwave, and stove in your RV, make sure you’ve cleaned them thoroughly. Use a prop to hold the doors open. Leaving the doors open will allow for air to circulate freely.
Food
Getting rid of all the food is one significant step of you should never skip whenever you’re winterizing your RV for the incoming cold season. The freezing temperatures can cause some food will either rot or burst, attracting unwanted animals and insects. Some of these food may include water, soda cans, beer cans, soup, honey, and jam. To avoid wastage, you can collect everything and store them in your house instead of discarding them. If a soup can or soda freezes and bursts, trust me, you are in for some cleanup come spring time.
Once the food is out, clean the food cabinets as well as the fridge (as directed above) to finish off any scent that may end up attracting rodents and insects into your RV during winter. Get rid of the trash and clean the dustbin before either returning it into your winterized RV or your house for storage.
Exterior
You’ll begin by washing your RV’s exterior, removing all the dust, grime, and debris that may have stuck on the chassis. Once the exterior has dried off completely, you’ll start checking for damage on the frame. If you find any patches or cracks on the paint, repair them according to your manufacturer instructions. Once all the cracks on the body have been sealed off, the next step will be waxing. The purpose of waxing is to protect the paint from discoloring or fading that’ll come as a result of regular use or prolonged storage.
The waxing process should be carried out just as you would wax a car. We use this wax as it comes highly recommended for this kind of job. Lastly, avoid waxing the awning cap pieces, the propane covers, the roof, and of course, the battery box as they will take on the white color of the wax and be hard to get off. You can use painters tape to cover any areas you don’t want to mess up.
Bedding
You’ll start by removing all the beddings from your RV since leaving them in there throughout winter will only make the environment inside your RV stuffy. Once all of the blankets, bed sheets, and pillows have been washed and air out, fold them neatly and stash them in the house. Some people even take their RV mattress and store it inside.
Awning
To properly clean your awning, you’ll start by hosing it down. This will get rid of any dust or debris that may have stuck on the canopy by chance. Hosing your awning down is also the most effective way of getting rid of mold formations, especially if you’re in the habit of rolling your awning while wet. After your clean awning has completely dried, you can condition it to make it last longer. Finish things off by applying 303-protectant over the entire surface of your awning.
Moisture Control
Moisture sometimes has more than enough ways to seeping through the RV, especially during winter. Therefore, learning how to keep the moisture from damaging your RV will end up saving you much struggle. First, you’ll be better off finding ways of keeping your RV well ventilated throughout the storage period. That’s the whole idea behind the use of a breathable cover which allows air to circulate freely, whether in and out of your RV.
The ordinary moisture absorbing crystals are quite sufficient when it comes to keeping the humidity levels inside your RV at the bare minimum. If moisture absorbing crystals aren’t appealing to you, feel free to purchase the DampRid Moisture Absorber or even better, if you leave your RV plugged in, an Electric Dehumidifier.
Cover
Once your RV has been fully winterized, the final piece of the puzzle will be covering it appropriately. Find a cover large enough to wrap the entire RV; from the roof, the sides to the tires. Find the right cover for your RV, that’s if you haven’t already. The best RV covers might be steeply priced. However, if you were to calculate the damage you’d have to incur repairing your RV if you don’t cover it, then spending that extra money getting the right cover would be the cheaper option.
Conclusion
Winterizing your RV is without a doubt a long and tedious process, but an important one nonetheless. Therefore, always to take your time and try to enjoy it as much as you can. If its too much work for you, then don’t hesitate to call in a professional to help you out.
Be the first to be notified about FREE tips, hints, coupon codes, and email-exclusive information. All for FREE!